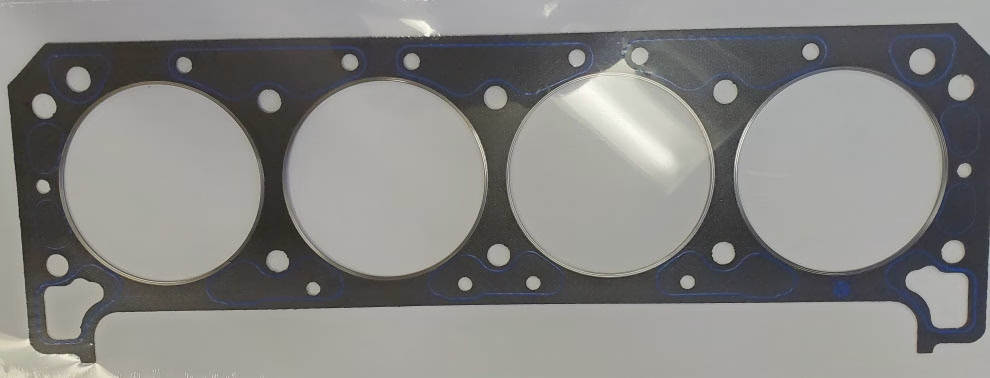
GS511056 Cut Ring Head Gasket for 472 / 500
November 12, 2021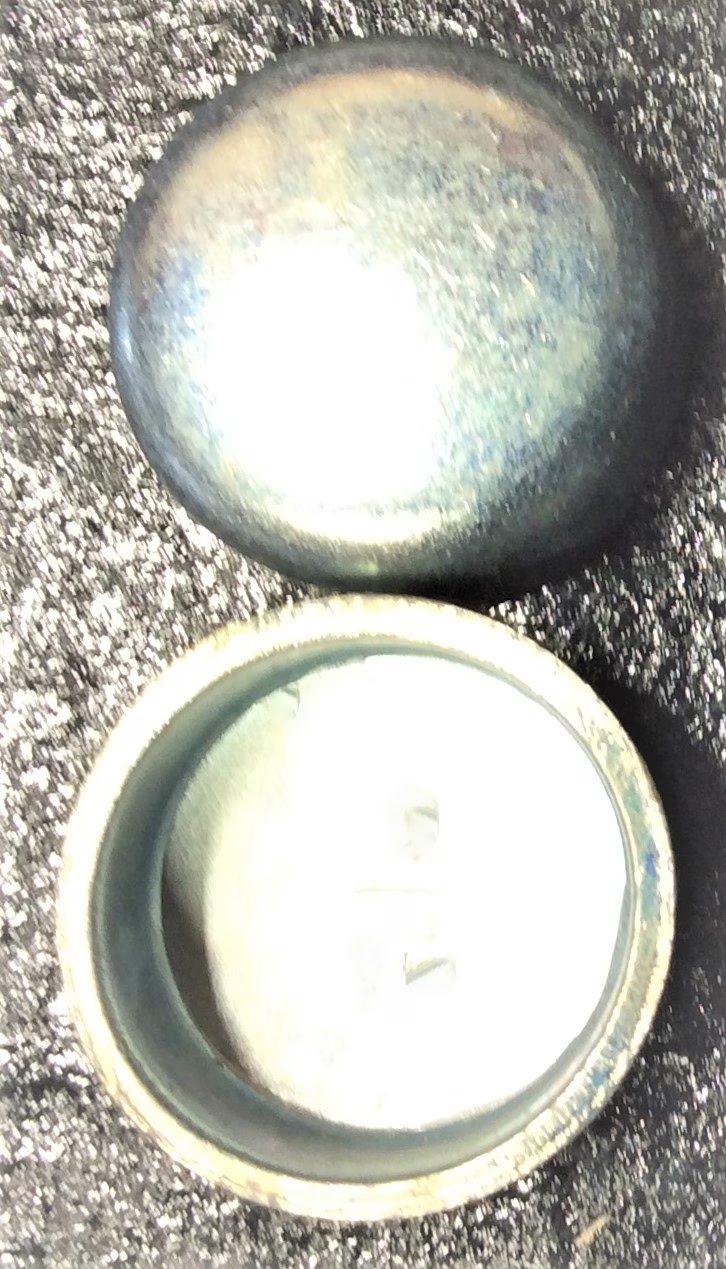
BH11091 Smog Passage Press In Plugs
January 14, 2022
SM91001 472 / 500 / 425 / 368 Into 63-67 Cadillac Swap Parts
$17.50 – $550.00Price range: $17.50 through $550.00
This list of parts includes common items needed to swap a 472, 500, 425, or 368 into most perimeter frame ’65-’67 RWD Cadillac cars. For X-frame cars, see the ’59-’65 swap kit.
This list of parts includes common items needed to swap a 472, 500, 425, or 368 into most perimeter frame ’63-’67 RWD Cadillac cars. For X-frame cars, see the ’59-’65 swap kit.
’63-’65 X-frame and some early ’65 perimeter frame cars are … ‘special’ … and you may need parts and / or techniques from both kits / instruction sets. All X-frame cars require an Eldo pan, and all perimiter frame cars require a front sump (’68-’76 RWD) oil pan and pickup. The rest – you’ll have to look at your car and figure out what will work and what won’t.
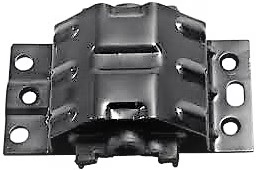
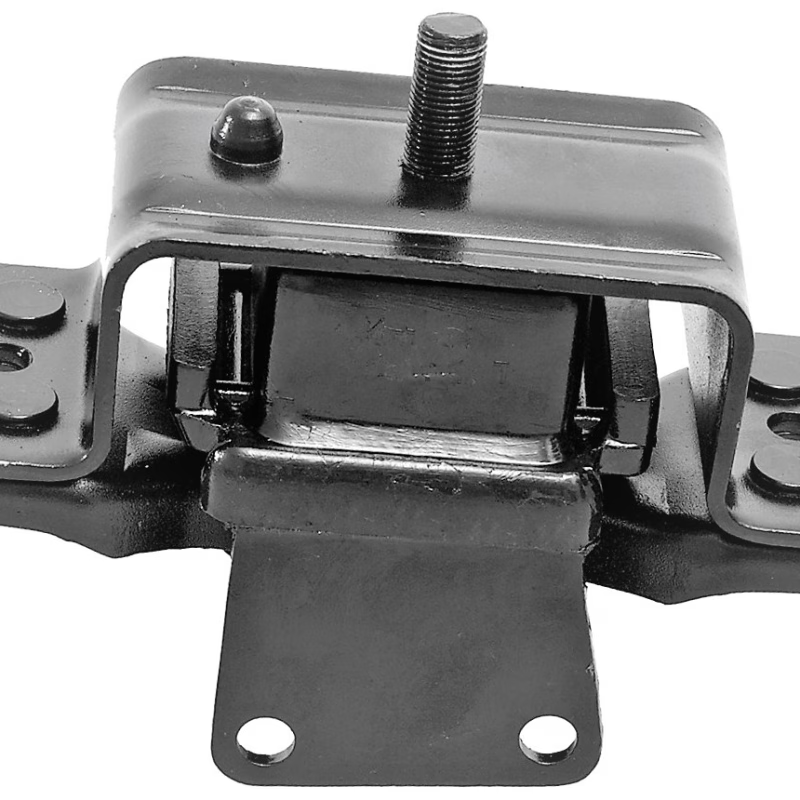
- You will need (2) motor mounts.
- You will need manifolds OR headers. If you are using manifolds, you won’t need the header install kit. If you are using a 425, factory RWD (non-Eldo) 425 manifolds can be substituted. If you are using a 368, factory 368 RWD (non-Eldo / Seville) manifolds must be substituted.
- You will need a ’68-’76 RWD (non-Eldo) oil pan and matching pickup tube. These will fit a 425 or 368 engine. None of the stock 425 or 368 oil pans will fit in your car. If you are getting a junkyard pan (rather than using the one that came on your engine), we strongly recommend a new pickup tube. There’s no telling what’s hiding in a junkyard pickup tube that might take out your new engine.
- You only need 1 fan. We offer our fan kit in 2 colors – there are many way to handle the fan, but this fan kit fit in every swap we’ve done since we worked it out, with the factory fan shroud. It’s simple, it does the job, it looks good, and it’s bulletproof. The mechanical fan kits listed will not clear any of the serpentine belt systems currently available. The fan has to be spaced further out, and that spacing will not always clear the radiator.
- You only need the transmission adapter if you are keeping the original 429-spec TH400. Some ’64-’65 cars with a TH400 and factory adapter are a different bolt pattern, and our adapter won’t work. If you are changing the transmission, you may need a different adapter or no adapter.
- We strongly recommend using an internally regulated alternator. If your donor is ’73-newer, that’s what it will come with (if it came with one). The alternator wiring kit on the list is for wiring an internally regulated alternator in your car that was originally wired for an externally regulated alternator.
- If you are converting to electronic ignition, you will have to consult the wiring diagram for your car to find the resistor wire or ballast resistor that drops the voltage on the ‘key on’ power supply to the coil, and bypass that so you get full battery voltage to the coil. If you are converting to HEI (coil in the cap), you will need to change the connectors on the ignition power wires to plug into the HEI (there are (2) power wires on points cars, they must both be connected to the ignition).
Procedure (not a comprehensive swap guide):
There are many ways to do any engine swap. This is how we do it. Following this procedure without getting creative or skipping steps will result in a: likely a successful swap on the first try and b: if you run into problems, we can generally help you sort them out. There’s nothing wrong with figuring it out for yourself – but sometimes that means we can’t help you as easily via phone or e-mail.
- Remove the 429. Do not remove the transmission – leave the mount bolted in tight. Even if you plan to change the transmission. If your trans mount is worn out, you should replace it and bolt it in tight _before_ loosening the motor mounts.
- Install new motor mounts and Special Chassis oil pump on the big block, and change the oil pan and pickup tube if needed. It is recommended to remove the exhaust manifolds before installing the engine, even if you are re-using them – you can do the install with them in place, but it’s easier to maneuver things with them out of the way. It’s also much easier to remove broken exhaust bolts on the engine stand than in the car, when they break off after you discover an exhaust leak once you get the car running… Removing all of the front drive accessories will also give you more room to maneuver and reach into the engine bay while setting up the motor mounts.
- In some cases, there is a large vacuum assembly hanging forward from the middle of the firewall that is part of the climate control system. If it’s in the way of fitting the engine in, you can usually remove the water pump to get the engine into the car without disturbing that. Removing the vacuum pod is easier, but … it’s a 55 year old complex vacuum mechanism. With a gasket that you can’t buy sealing it to the firewall where it comes off. Removing the water pump so the engine fits between that pod and the radiator support is a lot less likely to result in a problem later on.
- Set the big block in the engine bay, bolting it up to the original transmission using the adapter. If you did not get the adapter because you will be changing the transmission, the dowel pins will line up, but none of the bolt holes will – you may have to use a floor jack or other means to ensure the engine is mated flat to the mating surface of the trans bell housing during the next step.
- Set the engine down so the motor mount studs are resting on the frame, and mark a line on the cross member to the side of each stud, indicating where the middle of the stud is hitting the crossmember front to rear.
- Remove the engine, and copy the original motor mount holes in the cross member on the new center line – it should be roughly 1 1/2″ forward of the original holes (that’s for reference – test fit, don’t just use a tape measure to pick the location of the new holes).
- Now you can install the new engine and bolt in the motor mounts, and if you are changing the transmission, you can now do so after bolting the new motor mounts in tight to maintain the correct engine location.
- Once the engine and transmission are firmly bolted in, and to each other, all that’s left is to re-install all of the accessories you removed, and the rest is ‘just’ wiring and plumbing. ’68 radiator hoses almost always work, but it’s not uncommon to have to trim a little off of one or both ends (especially the lower hose) to prevent them from kinking.
